DIY

Dollar Store Crafts

Dollar-store-crafts.gif

Banquets on a budget. That's what we are good at. My other Mom friends and I were recently tasked with putting together the decorations for our kids swim team banquet. With very limited funds and with glass bowls left over from last years banquet, we came up with a plan.

Glitter them up. Guys, what doesn't look good with a little glitter added?

I put together a quick video with the step by step. So simple.

  1. Using regular Elmer's glue, paint the glass.
  2. I set the bowl onto a paper plate to catch the glitter.

Boom! Done. We added glitter to some dollar store candles to put in the middle...I do NOT suggest it. The glitter caught on fire when the candle burned down. It was all very funny but um, no, do NOT add glitter to your candles.

We also glittered a few dollar store vases and added pillar candles.

IMG_2537

IMG_2533
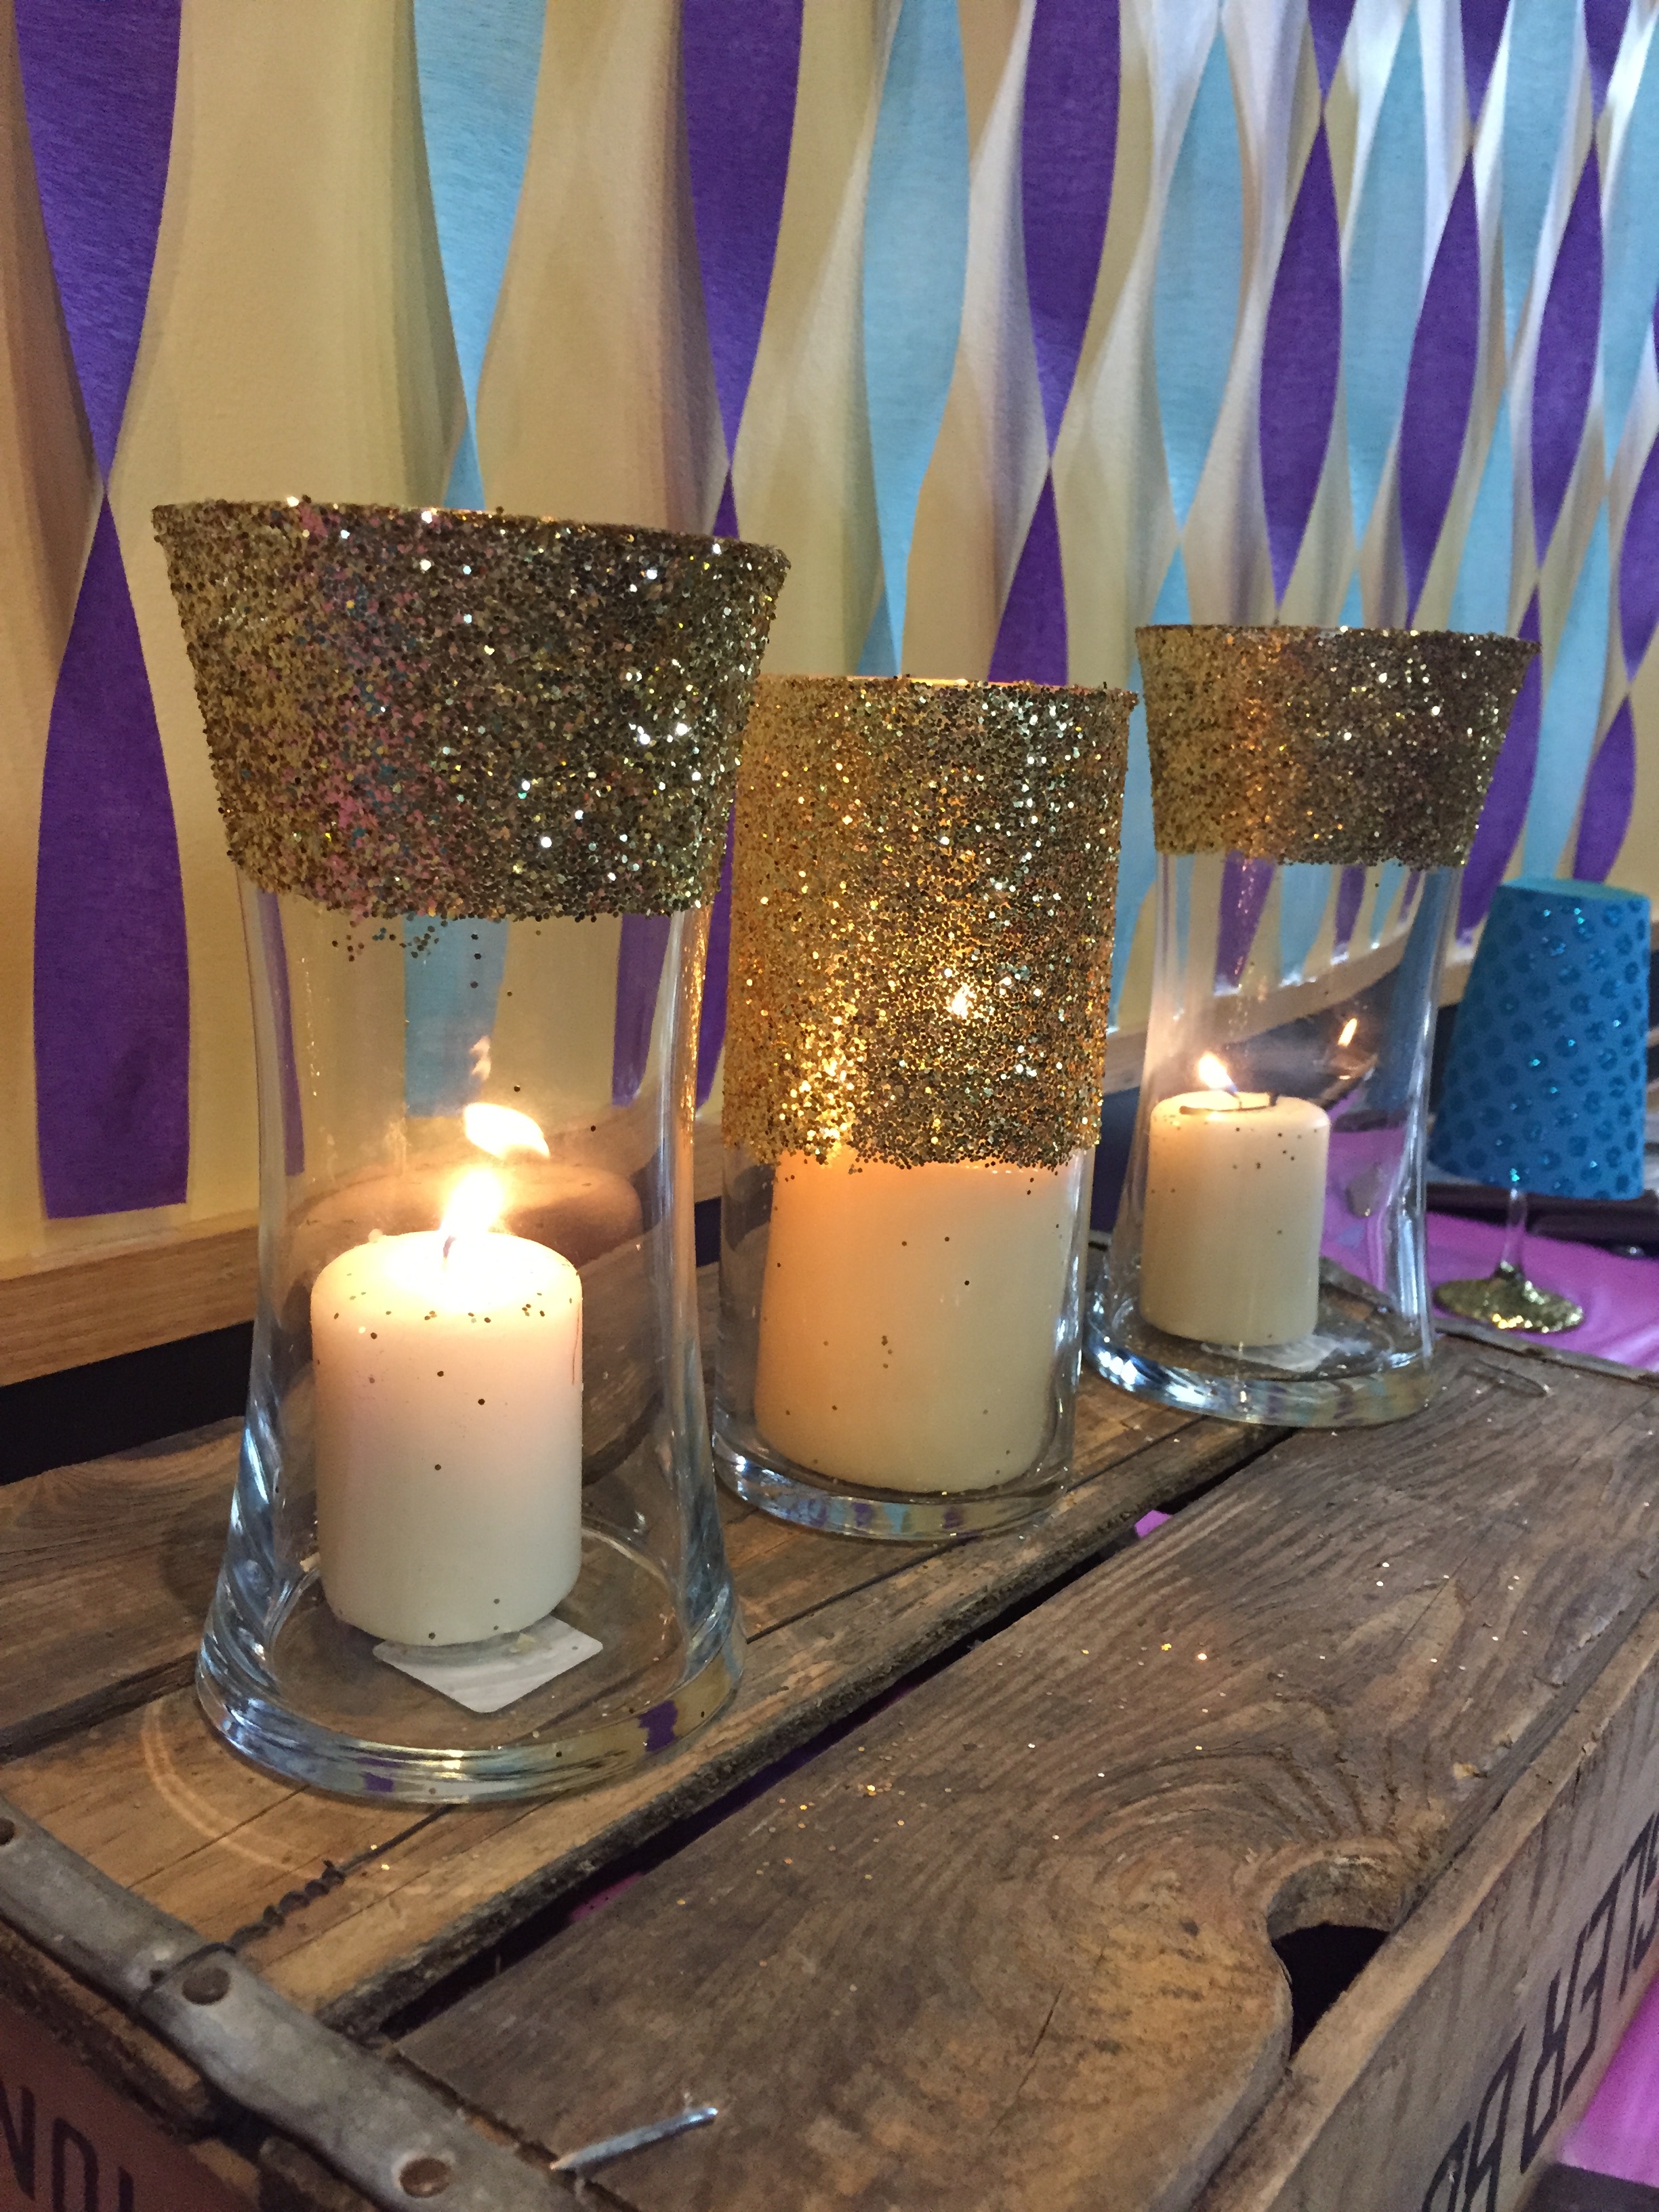
My favorite was these dollar store wine glasses we added glitter to the base, made a paper shade using scrapbook paper and a votive candle. Love!

The kids thought everything looked great and we already have some ideas how to reuse these items for next years banquet. Gotta love dollar store crafting! Click on the link below to see the quick video!

Dollar Store Crafts

Under the Sea Crossbody bag

slider-image.gif

IMG_9525I've had this sweet little double zip crossbody bag on my drawing board for a year now. Guys...a year. Procrastination much? I don't know if I can quite call it that or just that this pattern has stumped me and I just needed to set it aside and let it simmer.

Sometimes, I know exactly what I want to say but it's hard to put into words which is what I have found while I've been writing this pattern with one particular step.

Now I need your help. Would you be willing to give it a go? I'd like to send this in PDF form to a few testers and see if my words make sense enough that you can recreate this bag.

Quite frankly, the double zipper is awesome. The lower part is perfect to slide your cell phone into. The center pocket is the remainder size of the bag and fits a little notebook perfectly. And I always have a nice little notebook and pen set I carry around.

I am a total OFFICE SUPPLY junkie. If you ever want to know what to get me for my birthday - it would be something like THIS. No joke. (and no, this is not an affiliate link) I love office supplies. So I do in fact carry THESE (I have 2 sets. One for my use. One I let the Sprout use on the road.) and a notebook all the time. I often give notebooks as gifts and pens. Everyone in my office knows of my sincere love of office supplies and knows I hoard all the good pens. It makes me happy. Serious as a heart attack happy. I'm not sure what that all really has to do with this bag but my birthday is in exactly 20 days, cough, cough. Just saying....

If you're interested in testing this bag, leave me a comment below and I'll be in touch. Thanks gang!

fabrics: courtesy of Mo Bodell from her Full Moon Lagoon line that I adore

Kiss the Cook Table Runner

kiss-the-cook.gif

IMG_1373The other day, I posted about the Hearts on Fire Hot Pad tutorial that I created for the Olfa website and today I'm sharing an extension of that. More crafting for the kitchen.IMG_1375 This is a QUICK (because let's face it, I have kids. AKA I have no life of my own so quick finishes are important for me!) but full of personality and cute table runner.

I used more of the Dear Stella, Kiss the Cook fabrics because I big puffy heart this line so much. For this project, adjust your repetition of the blocks or sizes to make a size runner that suits you best.

Kiss the Cook Table Runner - Finished size 55.5" x 13" Suitable for beginners Materials: Batting (I use THIS from the Warm Company) and Backing fabric - 52" x 13.5" strip Fabric:  Center butcher print panel - 21.5"  x 13.5"  - Cut 1 Striped print - 2.5"  x 13.5"  - Cut 4 BBQ print - 6" x 13.5" - Cut 2 Meat print - 6" x 13.5" - Cut 2 Ruffle - 4" x 24" - Cut 2 Lace Trim:  13.5" pieces - cut 4

Instructions:

  1. Piece together the runner top in the order shown below using 1/4" seams. table-runner
  2. To add the ruffle on the end, press both short ends in 1/4" to the wrong side. Then press in half on long side. Stitch the short ends closed. Run a basting stitch 1/8" from raw edge and gather. The ruffle should be 1" shorter than the width of the runner (12.5" in this case). This will prevent the ends from getting caught in the corner when we turn the runner in a later step.
  3. Match raw edges and pin ruffles to each end of the runner, leaving a 1/2" at each end (meaning, the ruffle will be shorter as described above, center the ruffle so that there is 1/2" on each end) and stitch.
  4. Place pieced top on batting and pin in place. Quilt as desired.
  5. Add lace trim and other embellishments as desired. In this sample, lace trim was placed along the edges of the striped print.
  6. With right sides facing, place quilted top on to backing. Pin in place. Stitch all the way around, being careful to not catch your end ruffles in your side seams. Leave a 6" opening on one side for turning.
  7. Turn runner right side out through opening. Steam press edges and top stitch all the way around runner.

IMG_1424

IMG_1422

IMG_1414 IMG_1413

IMG_1412

IMG_1410

IMG_1381

IMG_1379

IMG_1375Thanks Dear Stella for providing the fabrics for this project.


{alice in wonderland 11th birthday party for my peas}

100_7318.jpg

My two sweet peas celebrated their 11th birthday with a fun tween theme of Alice in Wonderland.  This was a great theme because it was fun and whimsical but also sophisticated enough that they felt really special with the grown up touches to the party.

I thought I'd share what all we did for our party to inspire you - it was fun to put together!  I think this party could be done for just about any age.  Plus, this gave me an excellent excuse to go thrift store shopping - bonus!  So, here's how our Alice party went...

Invitations - I found some great graphics from google and also the graphics fairy to create these postcard invitations printed front and back  (the peas are not actually named Lily and Emily - we fudged them, they like their privacy.  Tweens!)  We hand delivered each invitation with a teapot cookie that Aunt Carla made for the girls (they were AMAZING cookies - these photos from my phone don't do them justice!).  

Decorations - I HAD to go to at least 5 different thrift shops to find all of the teacups and saucers.  Twist my arm.  Love junk shopping!  I scored these great Johnson Brothers china teacups at one shop and was so excited.  They match my dishes - I have  a different pattern but they are very similar!

Cupcake plates!  To make the cupcake plates, use super glue or an epoxy and glue the saucers to the candlesticks.  These were used as our treat plates during the party and we also let each girl take them home as one of their favors.  They could use them to hold jewelry or a candle, etc.  Most plates were 59 cents, candlesticks 99 cents...pretty cool deal I think!  I found the teapots at the thrift store too...and added some faux flowers and birds from the dollar store.  The other decorations that hung from the ceiling were also from the dollar store with all the Easter stuff.

Playing card garland - also from the dollar store, I punched a couple of holes into each card and strung them up to create a garland.

I also used a roll of craft paper and poster board to create the rabbit hole by cutting out the hole and adding some mushrooms.  We hung this in the doorway to the party room and the kids had to crawl through.  That was a lot of fun!  Of course, we added a few arrows saying, This Way, That Way, and The Other Way!  And arrows over each birthday girls seat with their names on the arrows.  A mix and match of table coverings and chairs to mimic the Mad Hatter's tea party worked great - we just used what we had on hand.

I also added "drink me!" and "eat me!" tags to the teacups and plates as well as to some little bottles I thrifted.

As each guest arrived, we gave them a ticket for the movie.  We had them pretend to drink from the bottle that said "drink me" and then showed them to their seats.  We had the Alice in Wonderland movie set up (there is a great 1999 version that is a modern update to the classic - NOT the Johnny Depp version!).  When we brought them into our family room, we had a row of chairs set up from the girls American Girl and Barbie houses and pretended that they must have grown and therefore, wouldn't fit on our seats.  They thought that was funny!  Then we watched the first half of the movie, up to the tea party scene...that made them hungry and so we went out to the party room and ate.

Queen of Hearts - of course, there HAS to be the Queen of Hearts!  I obliged and surprised my girls when I came down in a red ruffly shirt, black sweater and skirt and one of their huge hair bows on my head.  I painted some craziness on my eyelids and added a heart to my cheek and embarrassed them by talking in some weird British accent most of the day.  The Gardener had his Mad Hatter hat on for all of 5 minutes.  Sprout thought we both just looked funny!

I found a mirror at a thrift shop and I'm going to hang it in my sewing room but I used it on the food table for the party - it was really pretty.  We served fruit and veggie trays with ranch dressing and peanut butter dips, chocolate covered strawberries and pretzels, and pink lemonade and sweet tea, of course!  Maybe because the girls were all dressed up or maybe because we were using real glass serving ware but they were so well behaved at the tea party...it was funny!  Not that I expected them to not behave but they were all being very proper and using such nice manners.  

Games and Crafts - I think it goes without saying, if you have an Alice in Wonderland party, there will be croquet.  So...Ohio this time of year, well, it was windy, overcast and barely 40' outside BUT darn it, we did play croquet!  And the kids loved it!

We also set up a photo booth which was really fun!  Being close to St. Patrick's Day and Mardi Gras, I was able to easily find fun crazy glasses and hats at the dollar store.  The kids could put on whatever and pose in front of the backdrop which was plastic table cloths hung from the ceiling along with balloons and some playing cards.  We turned on some music and they had a blast snapping shots.  Even Sprout went crazy with all the big kids (she's such a trooper - she's been icky sicky with a cold all week).

We made these simple marble magnets - I read about these probably 7 years or so ago in Family Fun magazine and we make them often.  Just button magnets with images (I used my alice images I found online) with those floral marbles that are flat on one side all glued together.  The marble magnifies the image.  Pretty cool.  I also found this inexpensive ball chain that we cut to length for each girl and these key pendants.  The girls then had to add a jump ring and string them on their necklace.  Both made for great party favors.

Cheap is how I like to go so I opted to use these lunch bags as their favor bags.  I think they were $1 for 50 and then I added a tag with each girls name on it and some ribbon.  I also added a few stickers and a crazy straw to their bag to add to their key necklace, magnets and cupcake plates as Favors.

But the big favorite as far as favors go had to be the hairbows.  My friend Kelley from our twins club has the cutest bow shop and made up these hair clips for all the girls.  I have a basket full of her bows for Sprout and the Peas - they are super cute and really fabulous quality!  This picture I swiped from her facebook page isn't the best quality photo - the girls were so excited about these I didn't even get a chance to take a quick pic!

After the tea party and croquet and photos and crafts...the girls were ready for CAKE!!

My BFF Kristin (who also helps me with my two peas business) is an amazing cake maker!  She gifted the girls with this cake for their party.  It was off the hook, crazy AWESOME!  She had their names on it, cards, mushrooms, the white rabbit and his watch, the caterpillar, the cheshire cat and his big grin...topped with a teapot and teacups.  All handmade fondant and hand painted by her and her daughter, who is one of the two peas BFF's.

On top of that - the inside was a white and purple checkerboard!  It was a huge hit at the party and yes!  She is for hire!  (She's driven as far as Texas before to deliver cakes but if you're local to Columbus, she loves to make cakes on the weekends for all kinds of parties for a little extra "mom" money.  You can get in touch with Kristin at kristintwopeas at gmail dot com).

With 11 girlfriends - most of whom they have been friends with since they were 3 or 4 years old, it was a great way to celebrate the Two Peas 11th birthday!  I love you girls to the moon and back!

Happy Happy Birthday!

{SPROUTS SUPERHERO PARTY - PART 2}

Part Two

Our little Super Sprout turned 4 last month and I promised to share the details of her party and I started right HERE.  Oh I whined and complained about internet connection on that post and guess what?!?!  We just got a 4G myFi connection device from our cell phone carrier and hot dog!  We actually have reasonable speed and connectivity!  Feel like I've been living in the dark ages with no internet.  Super happy.  Super.  Happy.

Oh?  Party?  Yes...I was getting to that.

I trailed off on the last post when we were getting to the games.  So, here's the 411:

1) Super Hero Strength Training.  Sprout was kicking butt and taking names here.  We used one of those inflatable punching things...I don't know what they are really called - but I got it for like $6 at the store.  Worked like a charm.  The guests had to hone their power punches to get the bad guys.  Good times folks.  Good times.

2) Vaporizing Villains.  It was FREEZING cold outside the day of her party which is unusual so we had to keep everything indoors.  I hung up a plastic table cloth, taped up our comic book villains - add a can of silly string for every kid and wham-o!  Instant happiness all around.  Big hit.  Easy clean up.

3) Throw a Mighty Super Disc.  The peas had more fun with this than anyone.  They set up a million different stacks of these cups and then the kids would throw a ball or a frisbee and knock them down.  We played this for-ever.  They loved it.  Even after all the games were over, they came back to this one and asked if we could play it again.  Big hit.

4) Bat Cave. Not one single picture.  I guess we were having too much fun we forgot to get a picture of this.  I used about 4 black plastic table cloths and taped them up in a doorway and out into a room over some chairs and low tables to make a maze and create our dark "bat cave".  Then we threw in some "kryptonite sticks".  The kids had to crawl in and bring out 5 one at a time.  They did this over and over again.  So much fun!

5) Superhero Cape Ceremony. After each kid successfully completed the tasks set before them in the Superhero Academy, they were then awarded their superhero capes.  Sprout loved her her Super "S" cape!  And that also was one of the party favors for the kids.  Labor intensive - not too bad.  If anyone is interested, I'll be glad to share my pattern.  I actually just used one of baby bib patterns and enlarge it to get the neck shape and then freehand drew the rest.  It worked great!  I used ric rac trim, felt for their letter shield and then I made felt flowers for the girls and put those on the ties up front with velcro.  I made them all velcro closure.  And they are lined which in my opinion, made them easier to put together.

My friend Kristin, who also made the peas cake over HERE, (scroll through those pictures and you'll see Sprout at that party in her Batman shirt and tutu) made Sprouts Batman Cake.  It also had a bat signal spotlight cake beside it.  Now, Sprout asked Kristin about making her this cake for months and months.  When the time came, it turned out Kristin ended up with a foot injury and had to have surgery.  She was maybe 4 days post surgery with a bone added and about 10 pins when she made this cake.  Pretty darn amazing I think and Sprout LOVED it!

This was probably one of the easier parties I've done, thankfully.  And Sprout still thinks Batman is the best thing ever.

Mystery Birthday Party

nancy-drew.jpg

Well.  That's it.  My "Two Peas" have reached double digits. It amazes me to think that 10 years ago, the Gardener and I grew these two sweet little peas and experienced all the joy in having twins. They are compassionate, generous, sweet little girls who amaze me everyday.  They are the happiest kids ever - and the Gardener and I love them to pieces!

For their big birthday celebration, we decided on a Nancy Drew Mystery party theme.  It was a blast!  I did find a few ideas online and a few ideas from some friends (thank you Krista and Sarah!)

We allowed for 2 1/2 hours for the party and it was timed perfectly.  Here's the low down on the shindig:

1) Invitations. I used a cover from a Nancy Drew book as the cover and inside was an envelope with the invite.  The kids loved this!

2)  The Party Table: Cake baker I'm not the best but the blob in the center on the tray is supposed to be a magnifying glass.  Marshmallow appetizers.  Candy buffet.  What's not to love?  I found the books in the trash on trash day in my neighborhood.  What?  They were perfect and in a bin of books they were throwing away...can you believe it?  I stacked a few on the table and my police officer / park ranger hubby provided us with some special crime scene tape.  Add a few tools of the trade, busts of my two peas...I think it turned out pretty cool.  Each pea had her own cake plus cupcakes for the guests (the cupcake wrappers are from Wilton - so cute!)  Cute green dot fabric left over from covering our chairs at Quilt Market.  

Our cupcake table had a simple display of the peas, more candy and some mystery books!  I also added a few tissue paper flowers for color!

3) Activities and Craft. American Girl has these awesome craft kits out that we love!  We started with making some flower centerpieces that the girls could use at home to hide a hidden camera or listening device in - you know, pretend!  I saved up my cans and we used those as our vases.  They absolutely loved making these - huge hit!

Then we played a game of skill...the girls had to pick up binder clips and keys from the floor using a string tied to a pencil with a safety pin on the end.  You know, because Nancy Drew never knew when she would have to retrieve a key tossed down a sewer drain or something.  Then, a game of observation.  A tray of objects they would get a few seconds to look at it.  Then I would take it away and Sprout would take one object away.  The girls had to write down what was missing.  And we did this removing about 5 or 6 objects.  They wrote down their observations in their investigation journals I gave each girl.  Big hit!

Then we put our new skills to work in solving the mystery!  The mystery involved a missing sock monkey that had a hidden map on it left by an old Great Aunt and it revealed where she hid the majority of her estate treasures.  Problem is there were two family members who didn't want to share and so there was a lot of sneaking going on...clues, witnesses to interview, chase down...there was a lot of running, squeals of delight.  It was so much fun!  They even found an old Last Will and Testament that had been torn up and they had to tape it together to find a missing clue.  Buried bottles with notes, secret clues in the garden...and finally the main culprit, hiding up in the tree in our woods, trying to keep people away while he was searching for the treasure.

Our culprit led them to the hidden treasure in our woods which turned out to be their treat bags - they consisted of a small bag of candy, a flashlight, a magnifying glass and a pair of glasses with a fake nose and moustache attached (ya know, because every great detective needs a good disguise).

Remember the books I salvaged from the garbage?  I used a few pages to create the tags on their treat bags.

The best part...my peas said that in fact this was NOT the best party they've ever had...because EVERY party we've had for them is the BEST PARTY!  That made me happy...I'm so glad they have enjoyed all these parties because my guess is...having fun little parties with games like this and little treat bags will start to disappear as we now move up in the 'double digit' years.  This was a lot of fun for the entire family and the kids even said it was one of the best parties they had ever been too!  You'll have to try it for your next party!

xoxo,

Trish