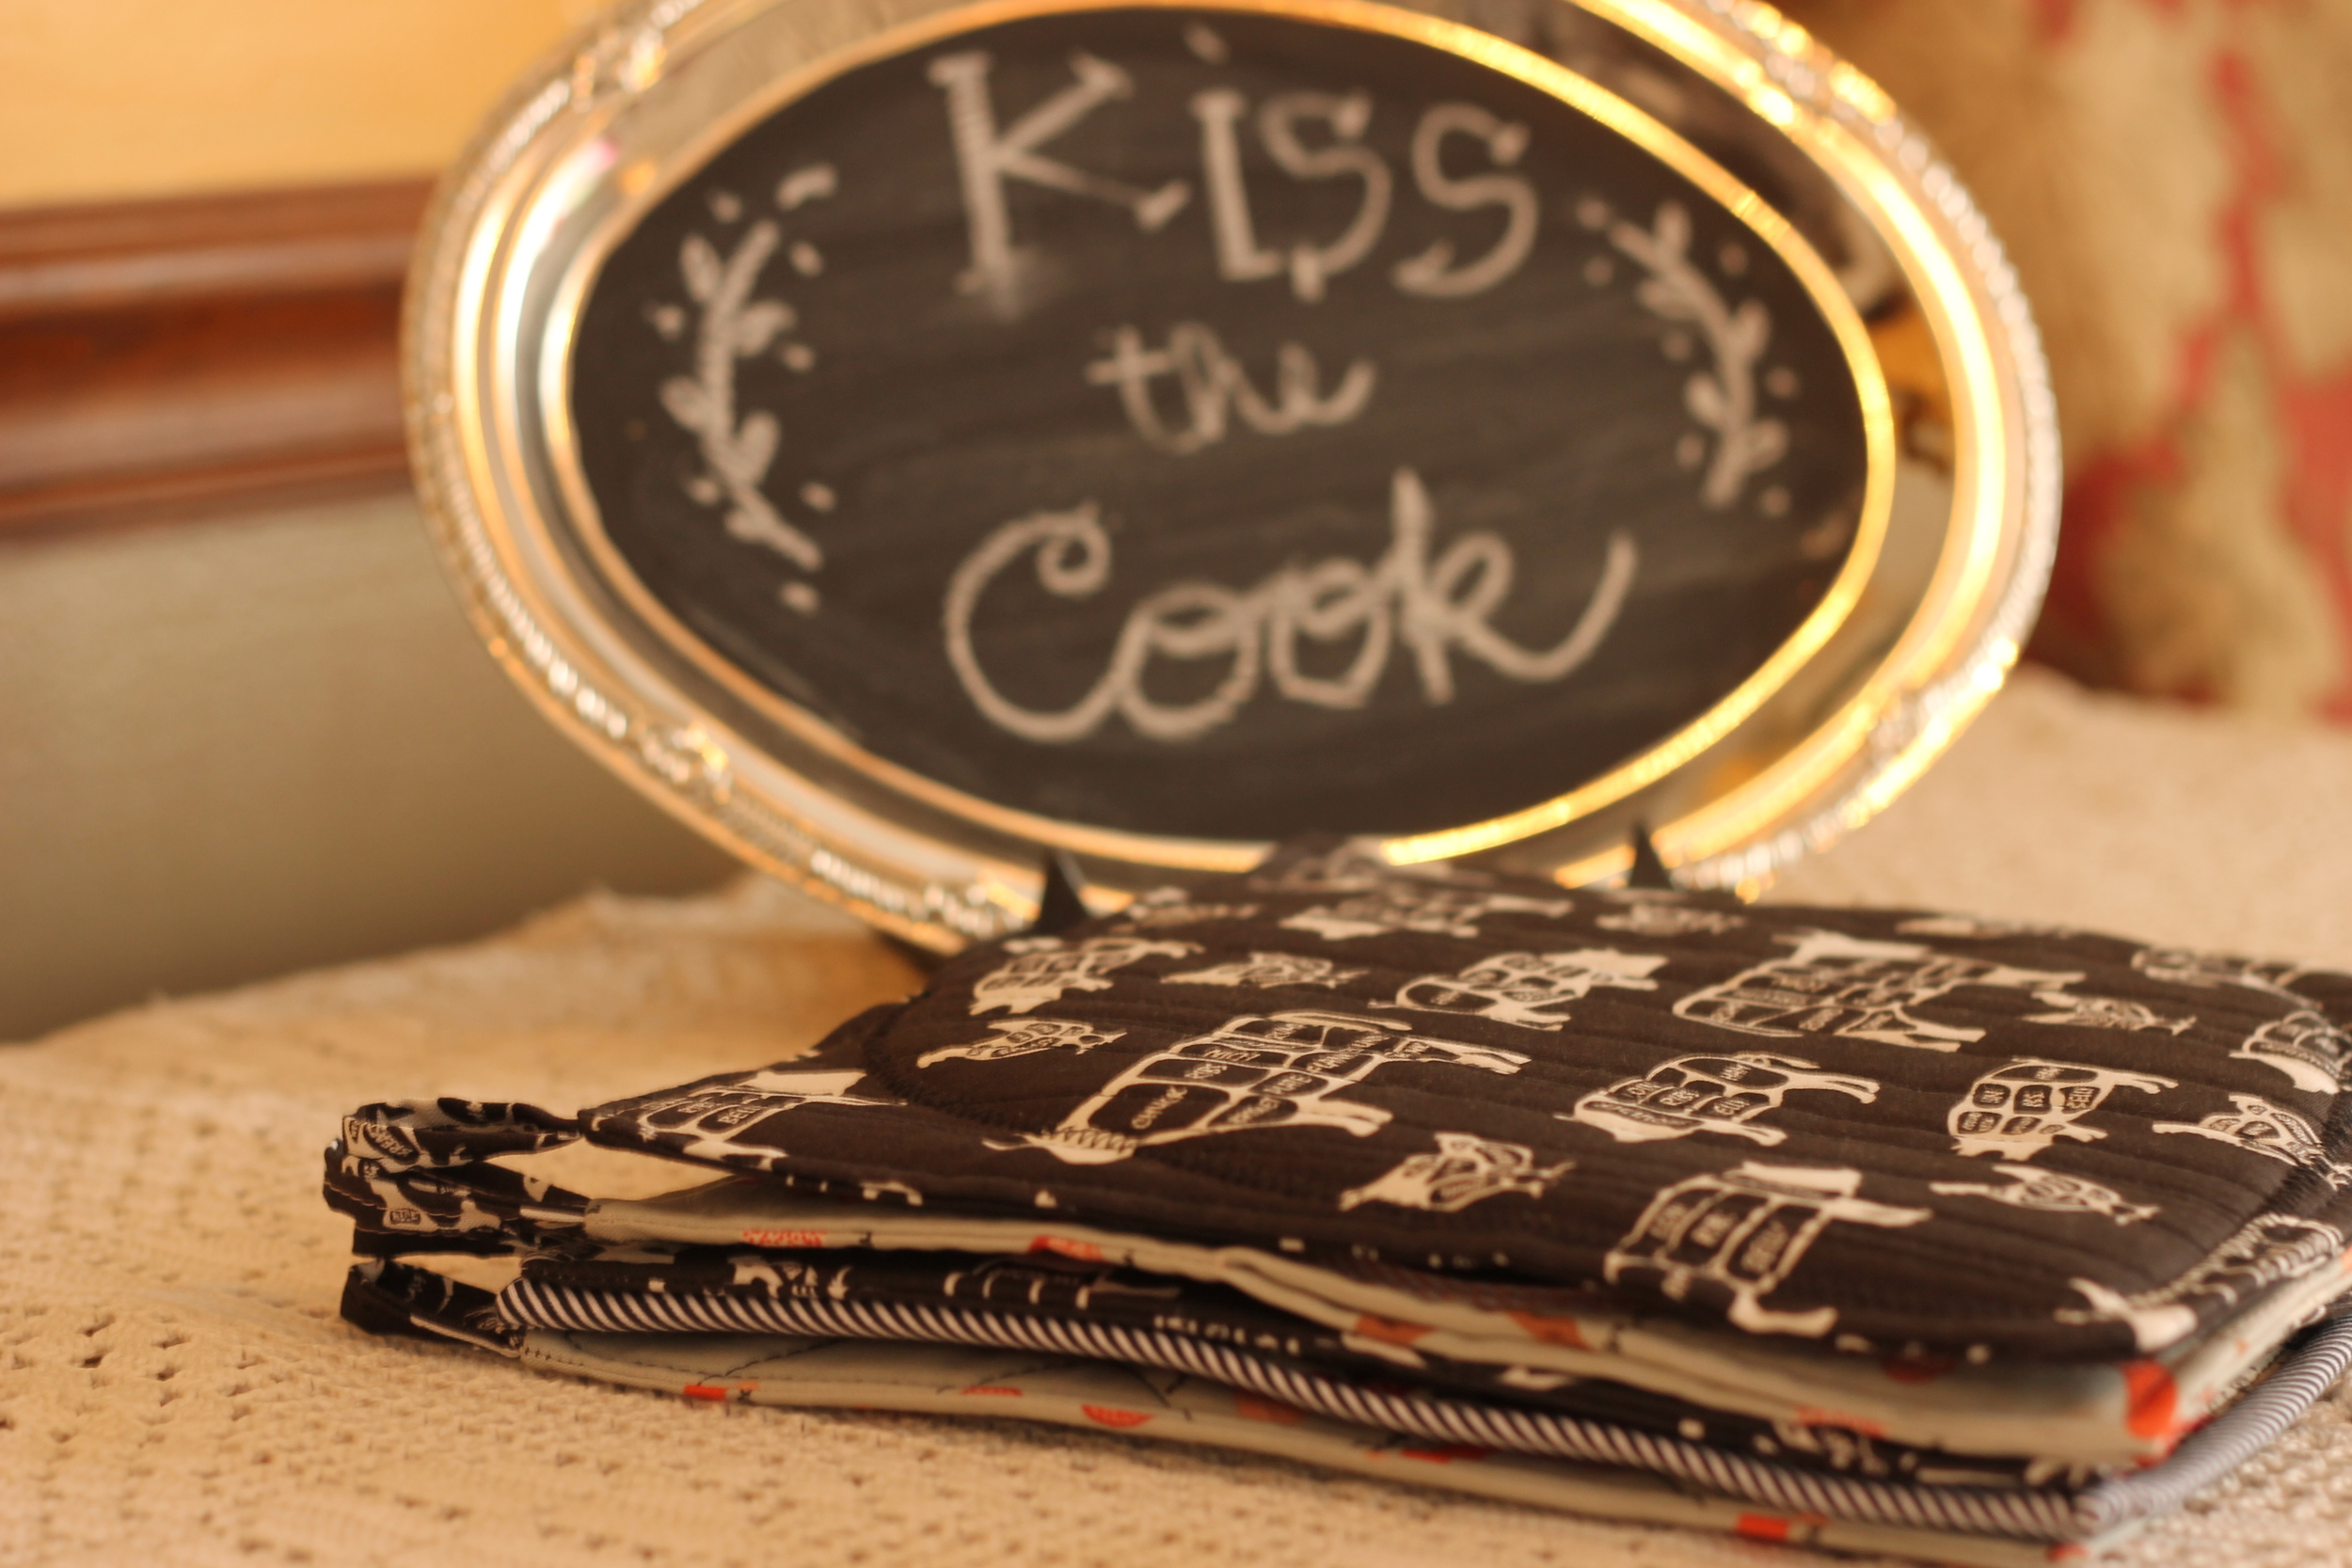
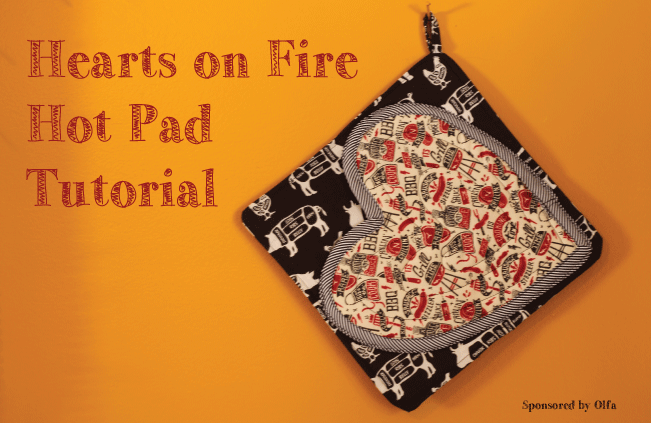
 The other day, I posted about the Hearts on Fire Hot Pad tutorial that I created for the Olfa website and today I'm sharing an extension of that. More crafting for the kitchen.
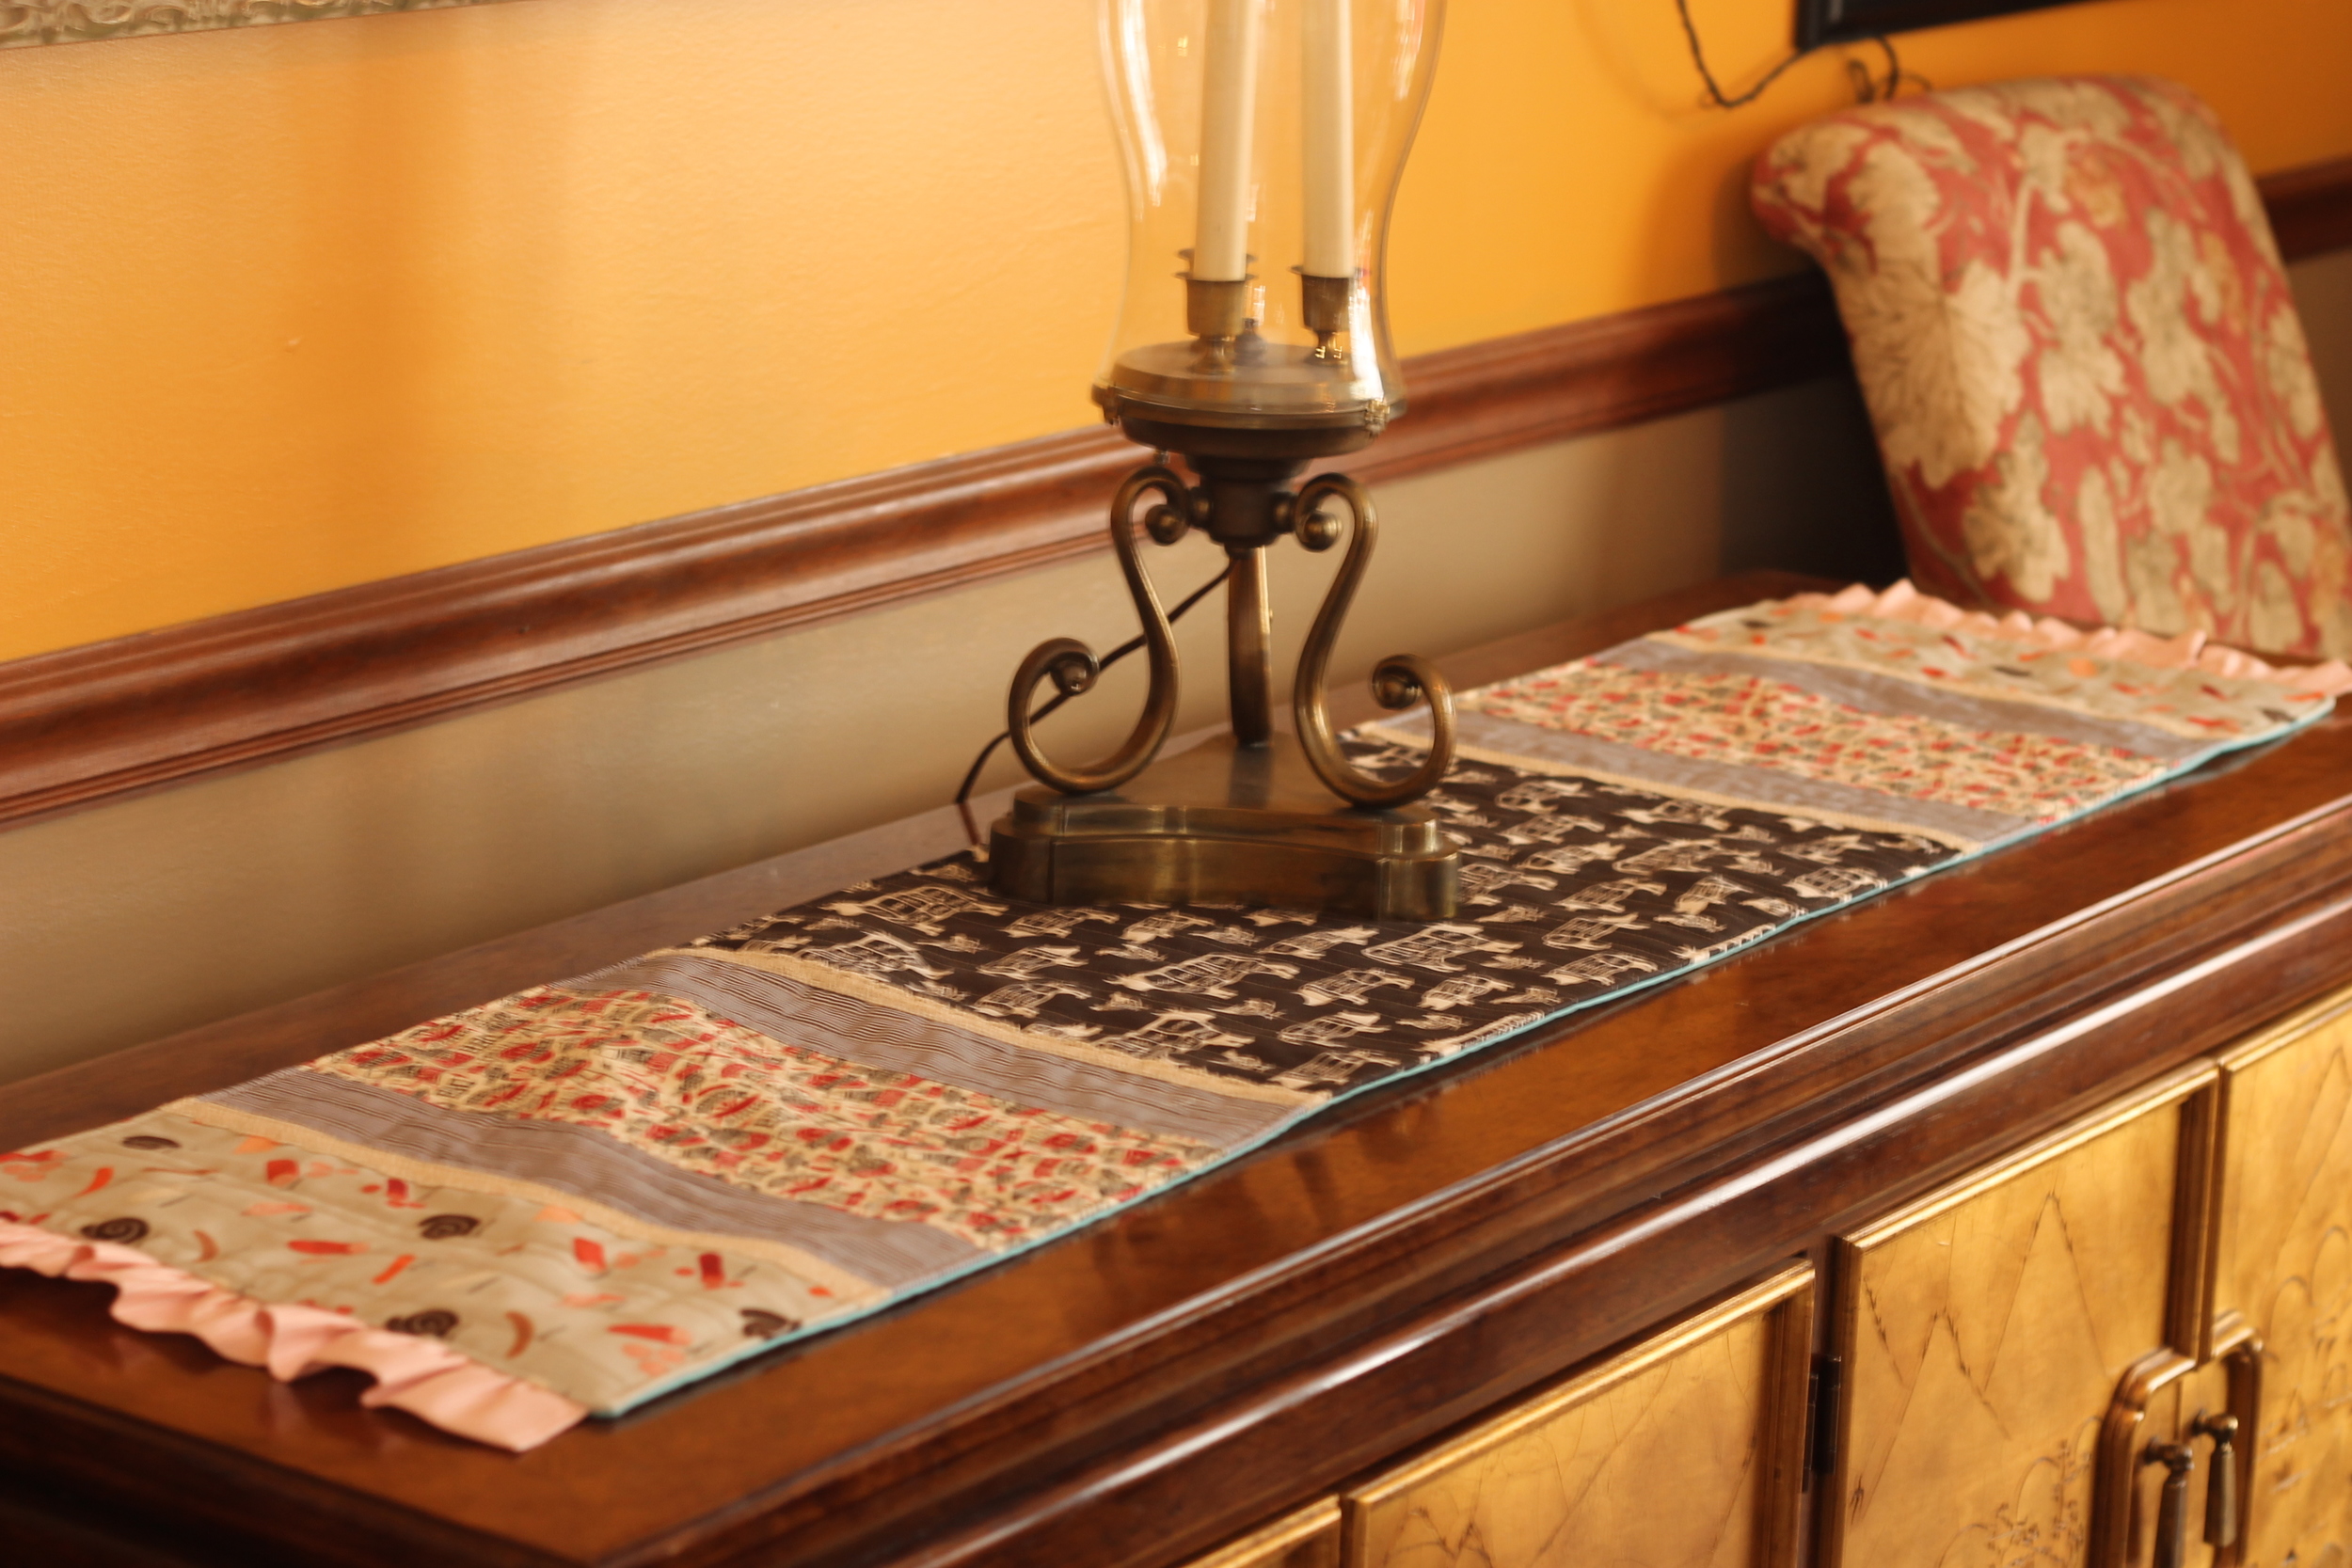
 This is a QUICK (because let's face it, I have kids. AKA I have no life of my own so quick finishes are important for me!) but full of personality and cute table runner.
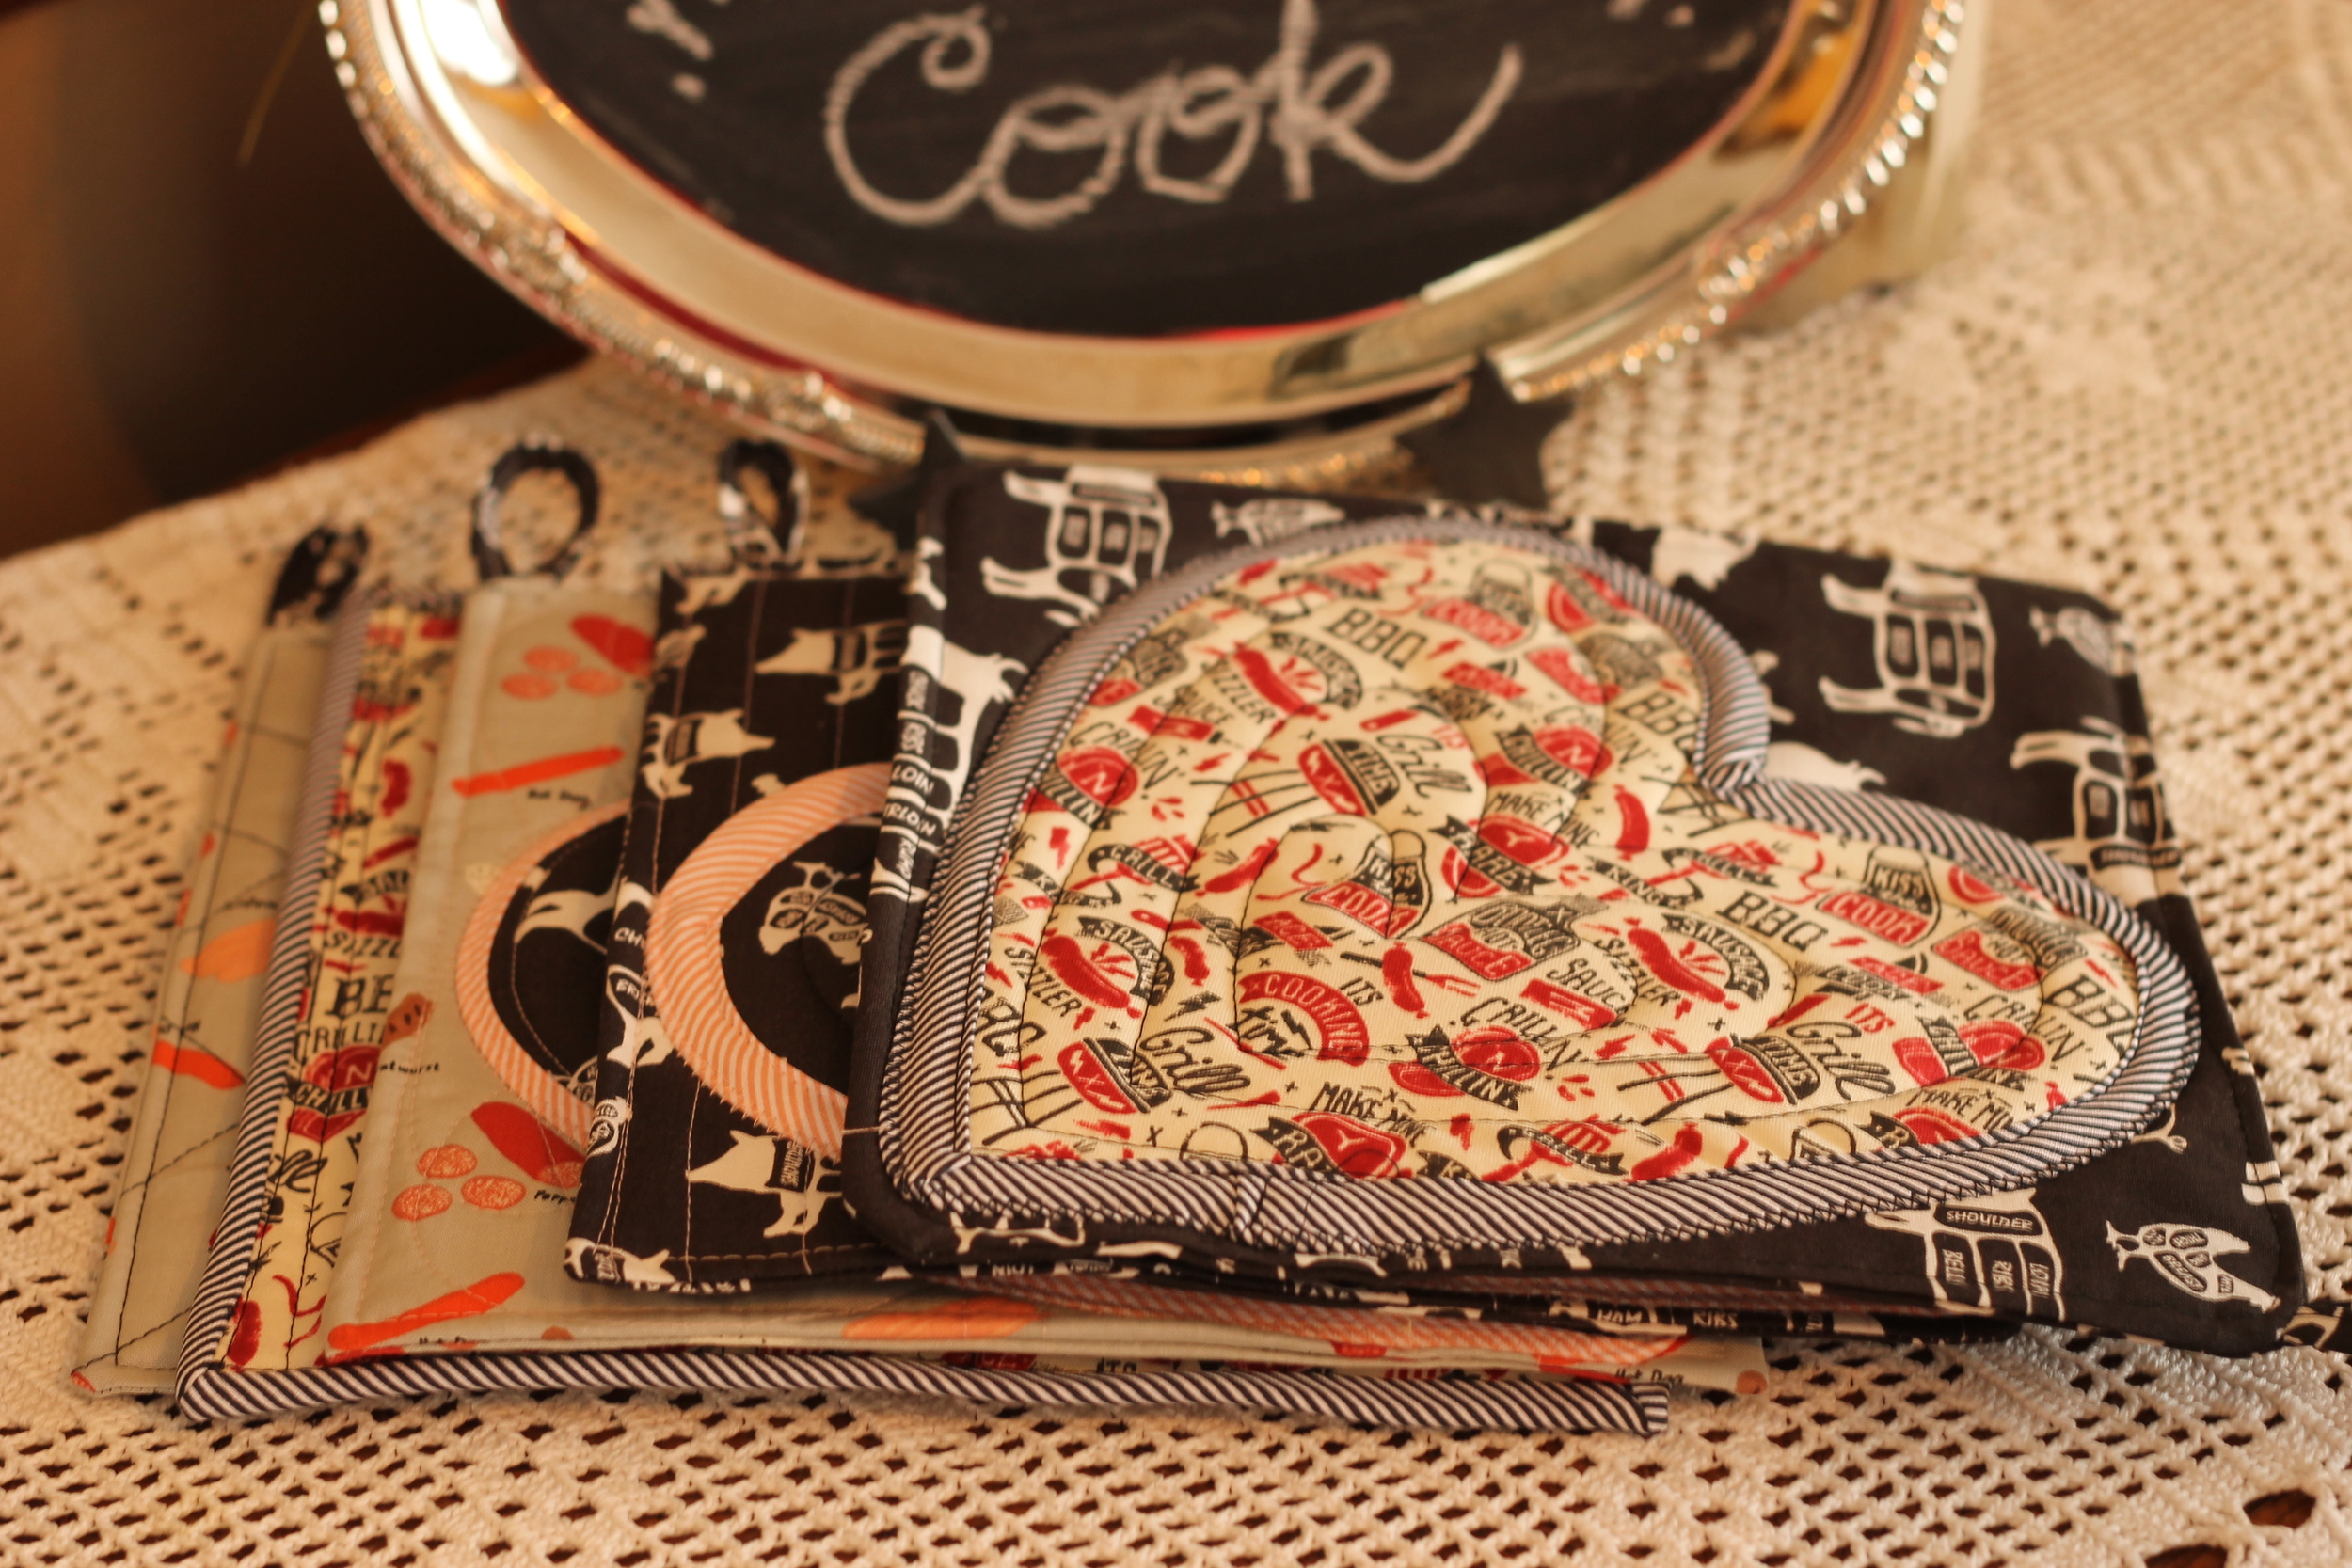
I used more of the Dear Stella, Kiss the Cook fabrics because I big puffy heart this line so much. For this project, adjust your repetition of the blocks or sizes to make a size runner that suits you best.
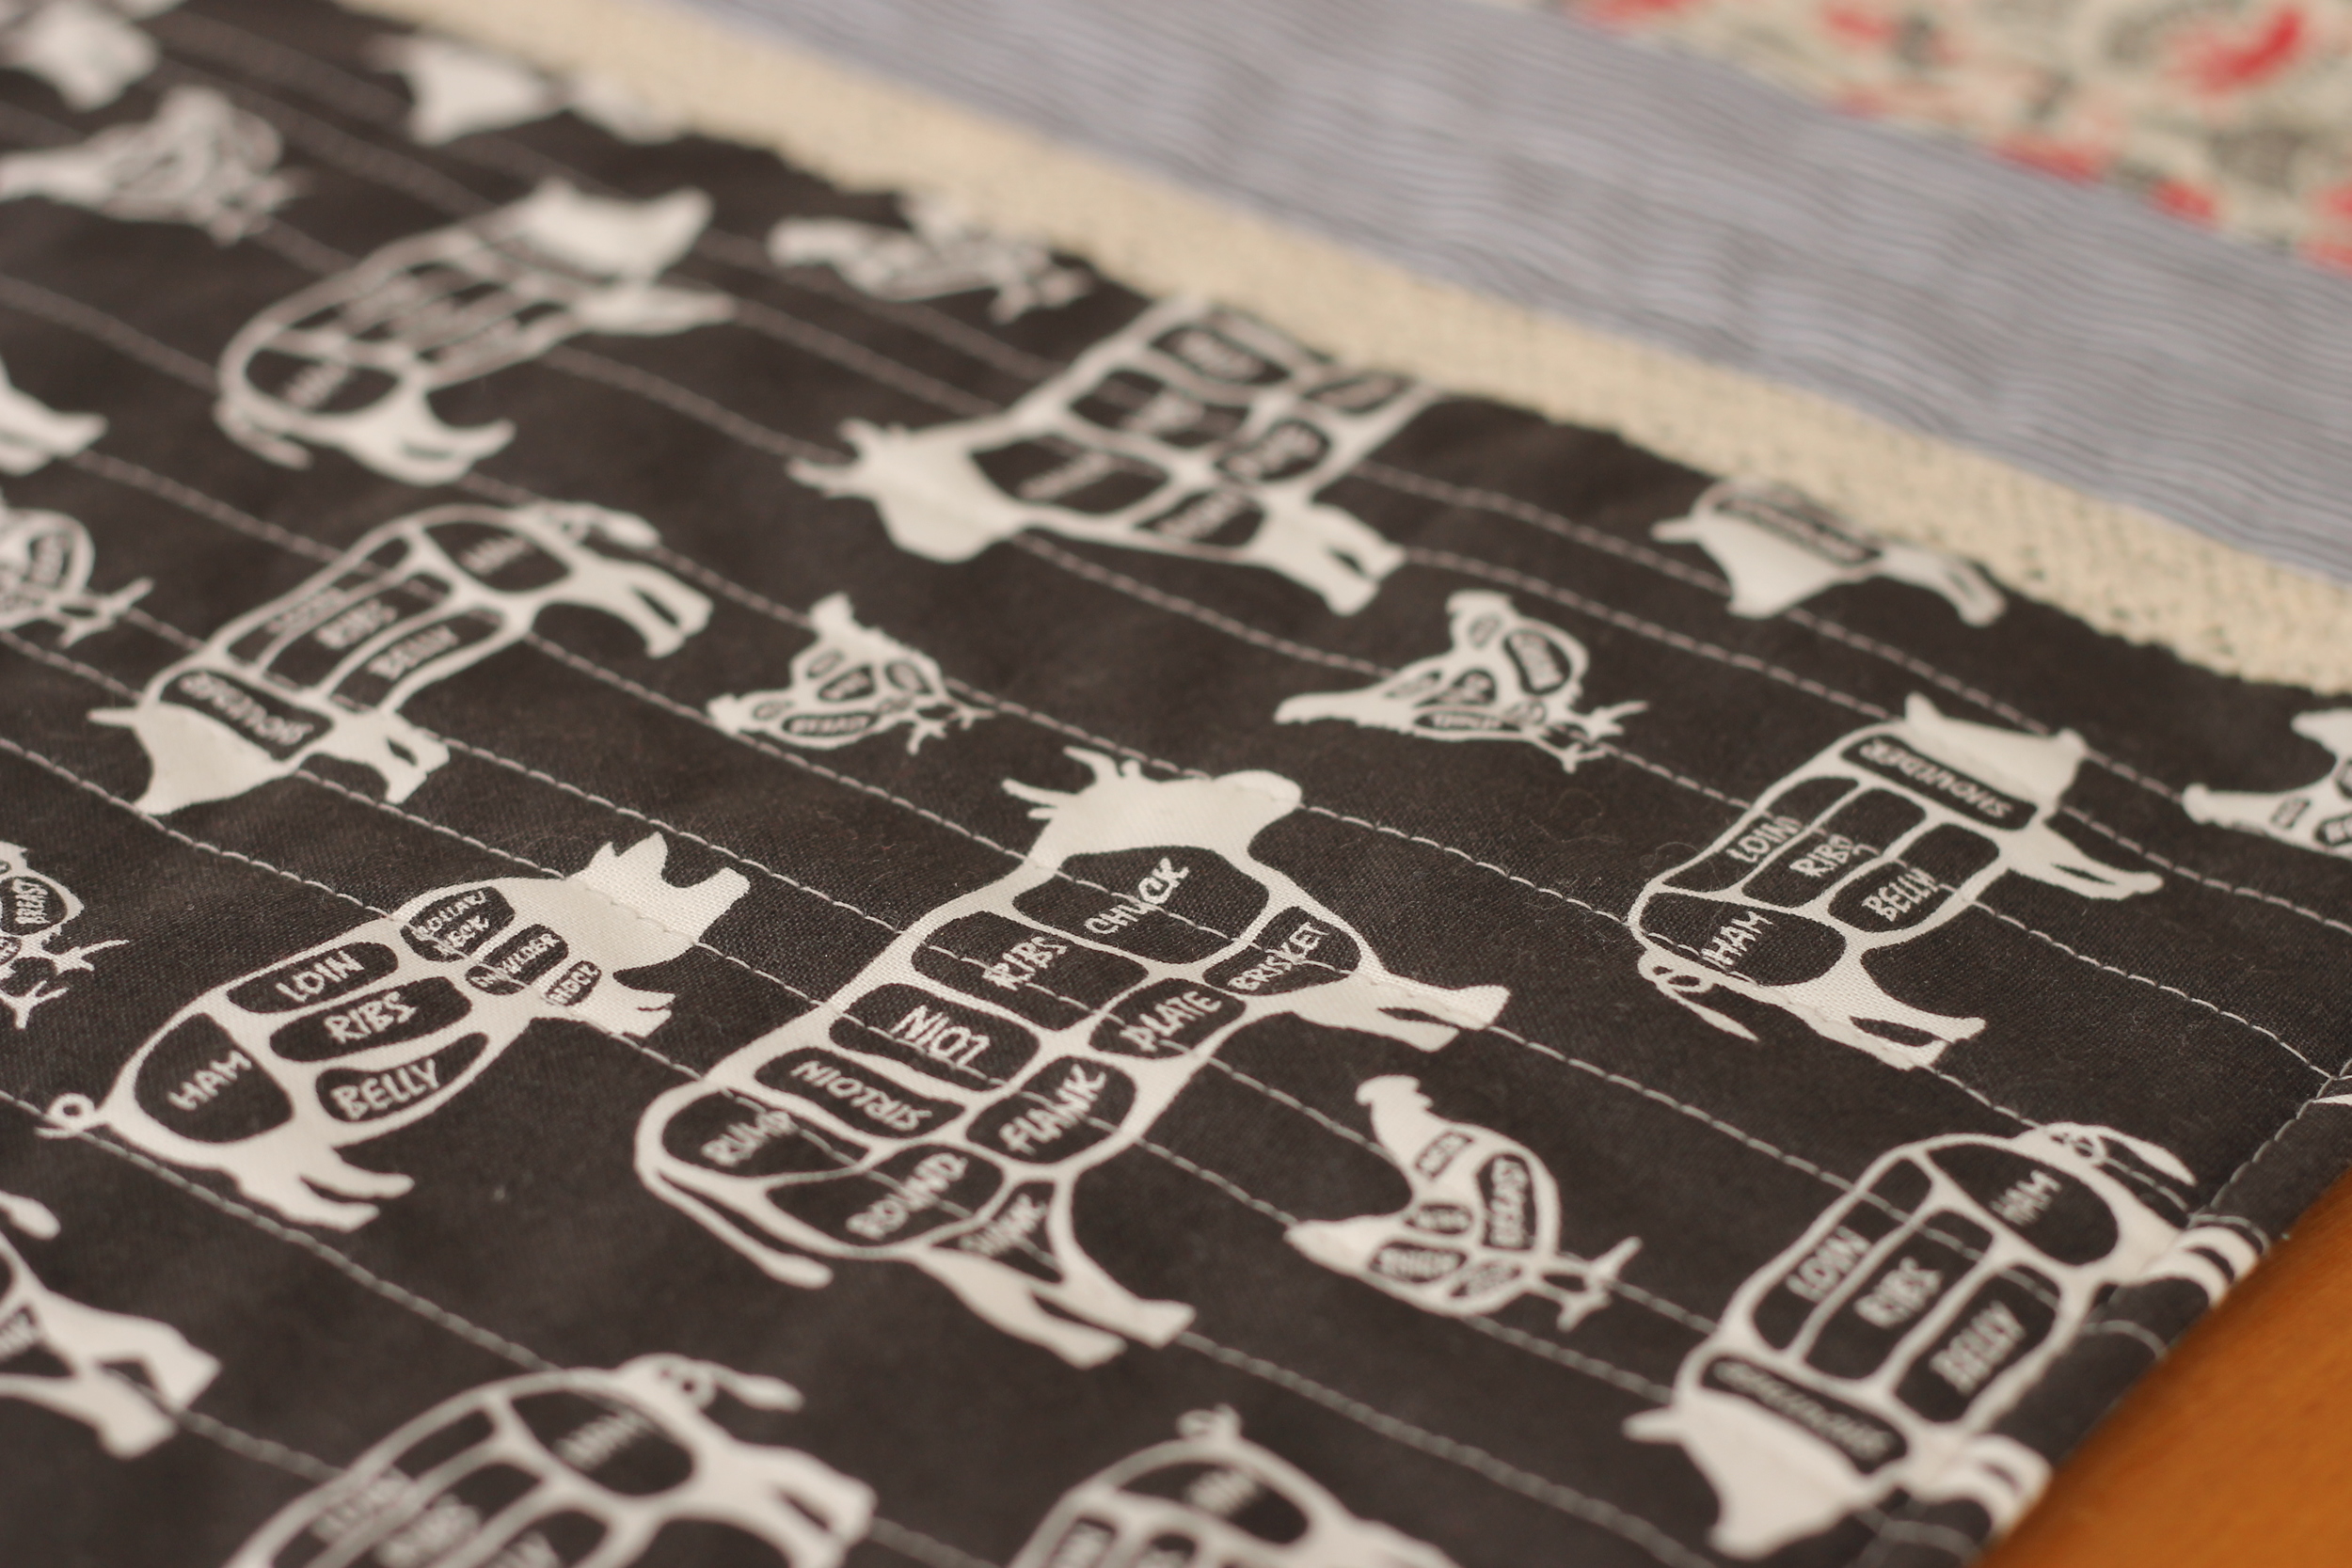
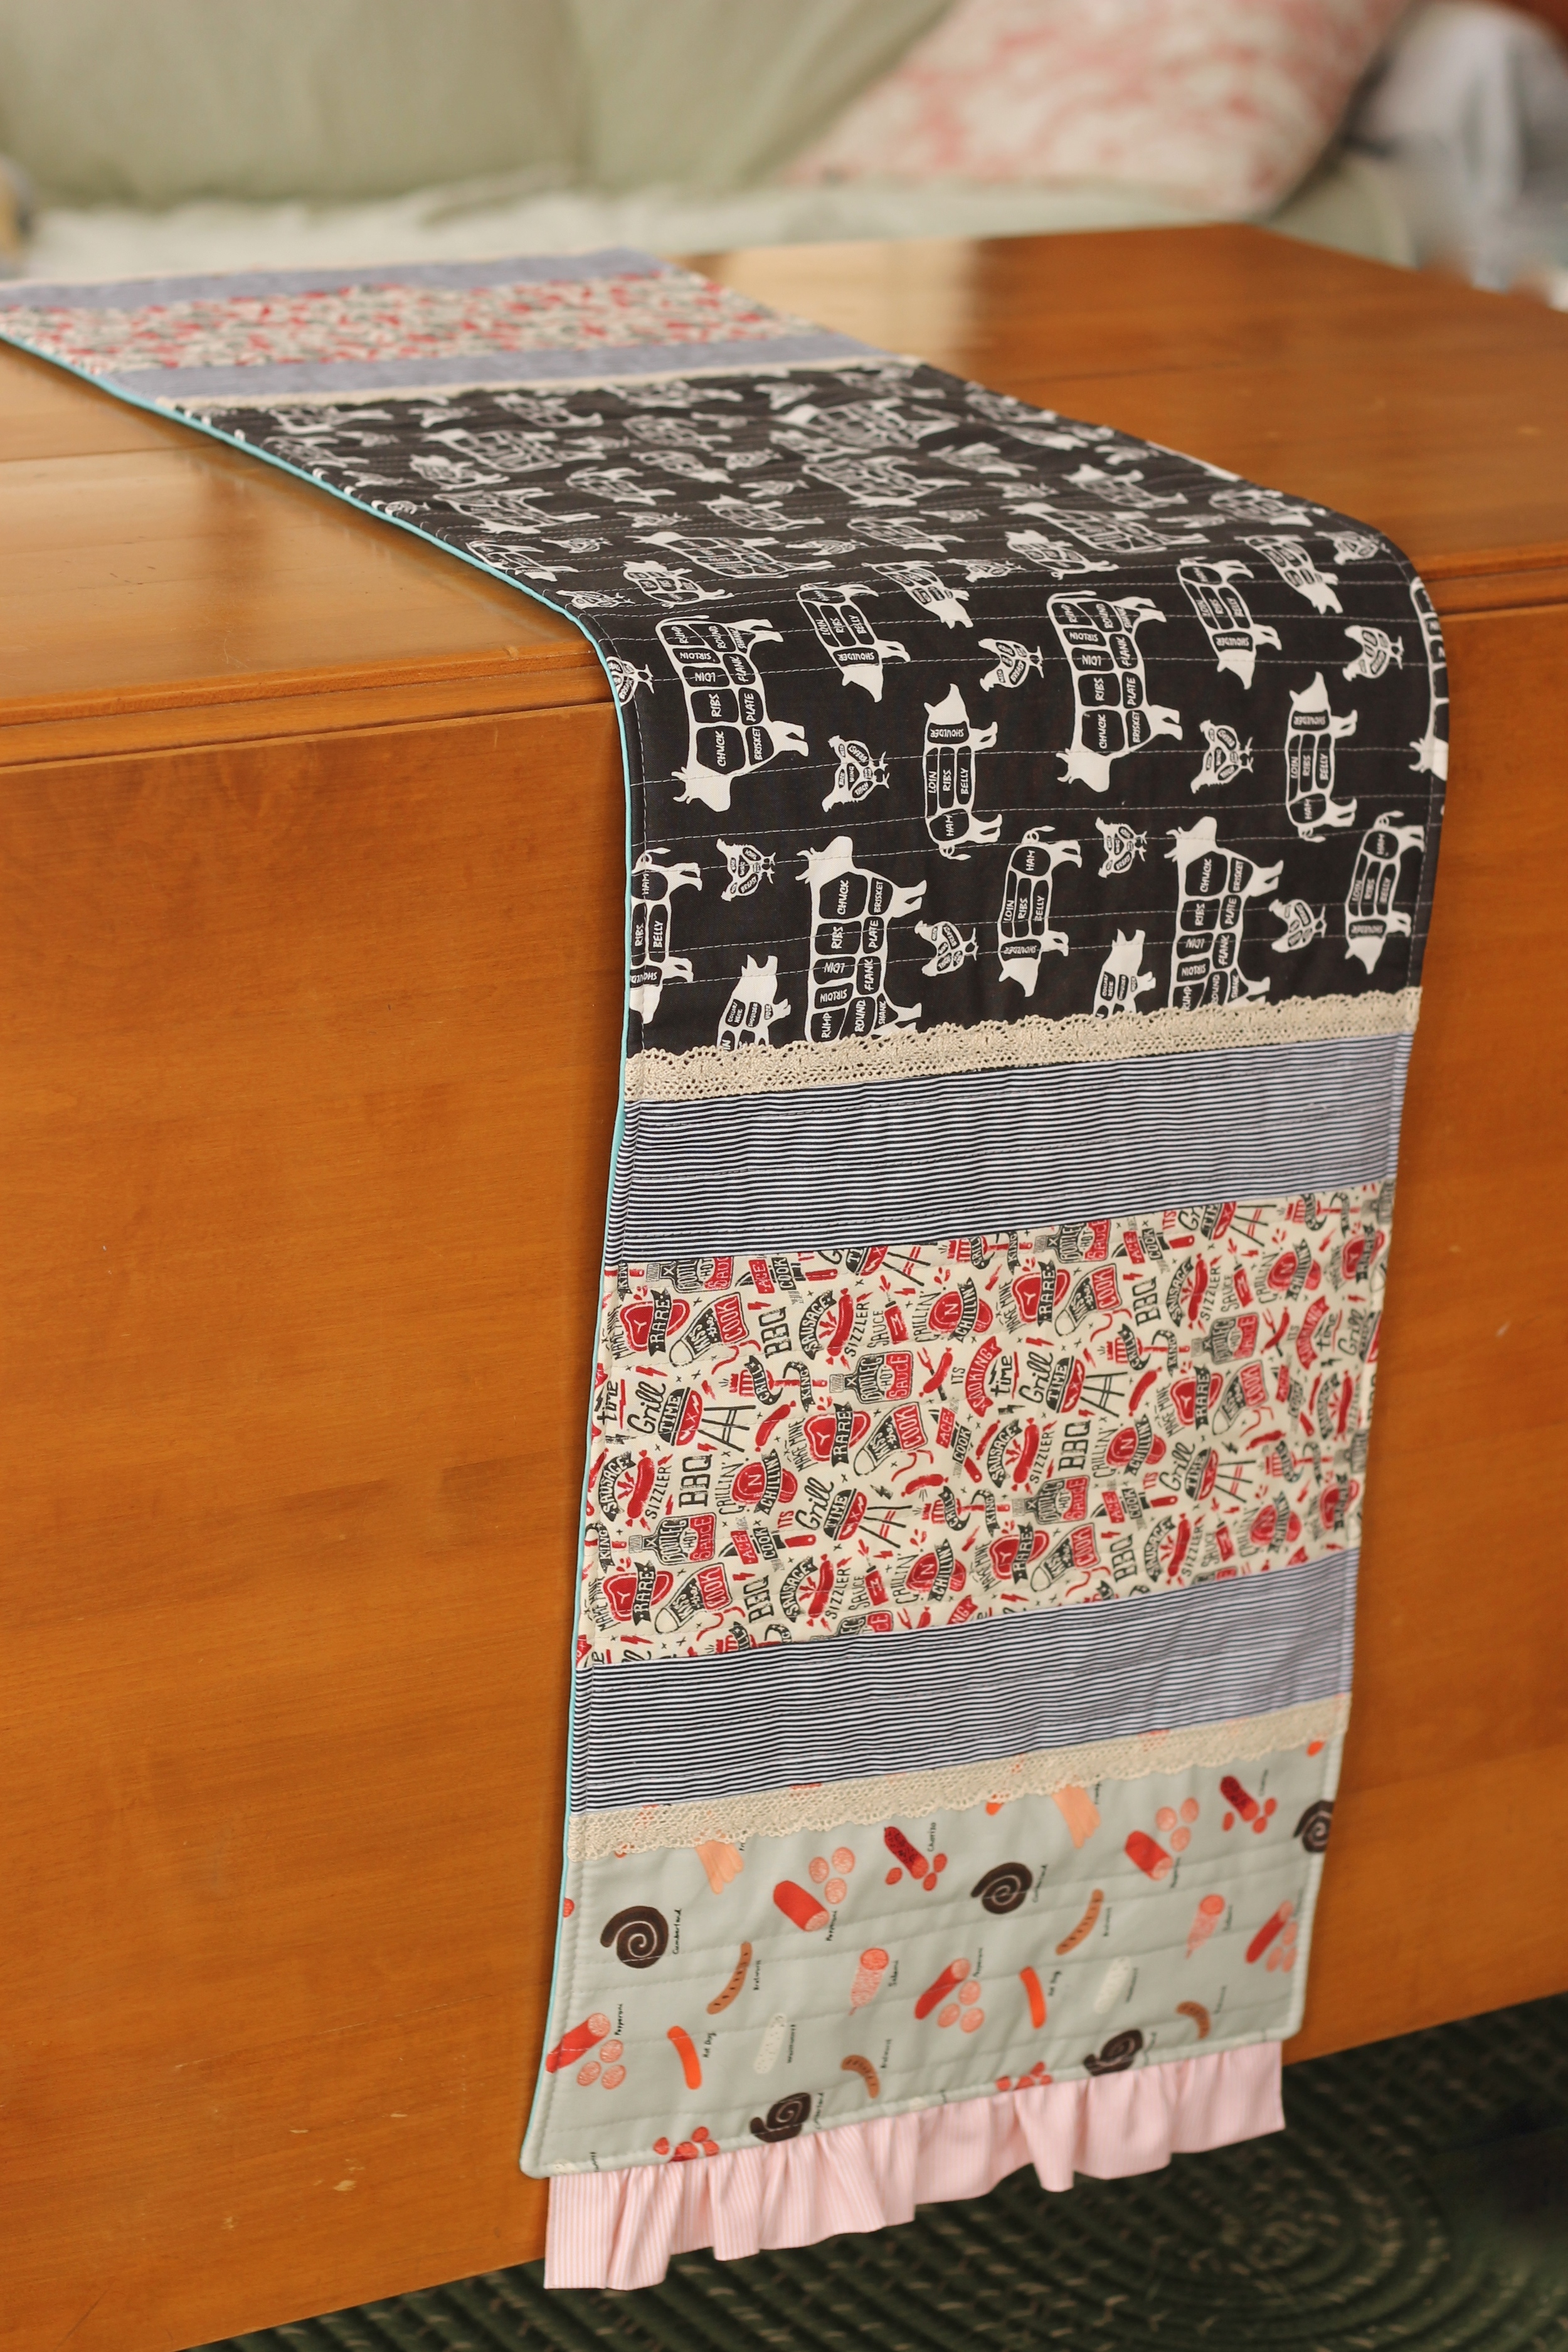
Kiss the Cook Table Runner - Finished size 55.5" x 13" Suitable for beginners Materials: Batting (I use THIS from the Warm Company) and Backing fabric - 52" x 13.5" strip Fabric: Center butcher print panel - 21.5" x 13.5" - Cut 1 Striped print - 2.5" x 13.5" - Cut 4 BBQ print - 6" x 13.5" - Cut 2 Meat print - 6" x 13.5" - Cut 2 Ruffle - 4" x 24" - Cut 2 Lace Trim: 13.5" pieces - cut 4
Instructions:
- Piece together the runner top in the order shown below using 1/4" seams.

- To add the ruffle on the end, press both short ends in 1/4" to the wrong side. Then press in half on long side. Stitch the short ends closed. Run a basting stitch 1/8" from raw edge and gather. The ruffle should be 1" shorter than the width of the runner (12.5" in this case). This will prevent the ends from getting caught in the corner when we turn the runner in a later step.
- Match raw edges and pin ruffles to each end of the runner, leaving a 1/2" at each end (meaning, the ruffle will be shorter as described above, center the ruffle so that there is 1/2" on each end) and stitch.
- Place pieced top on batting and pin in place. Quilt as desired.
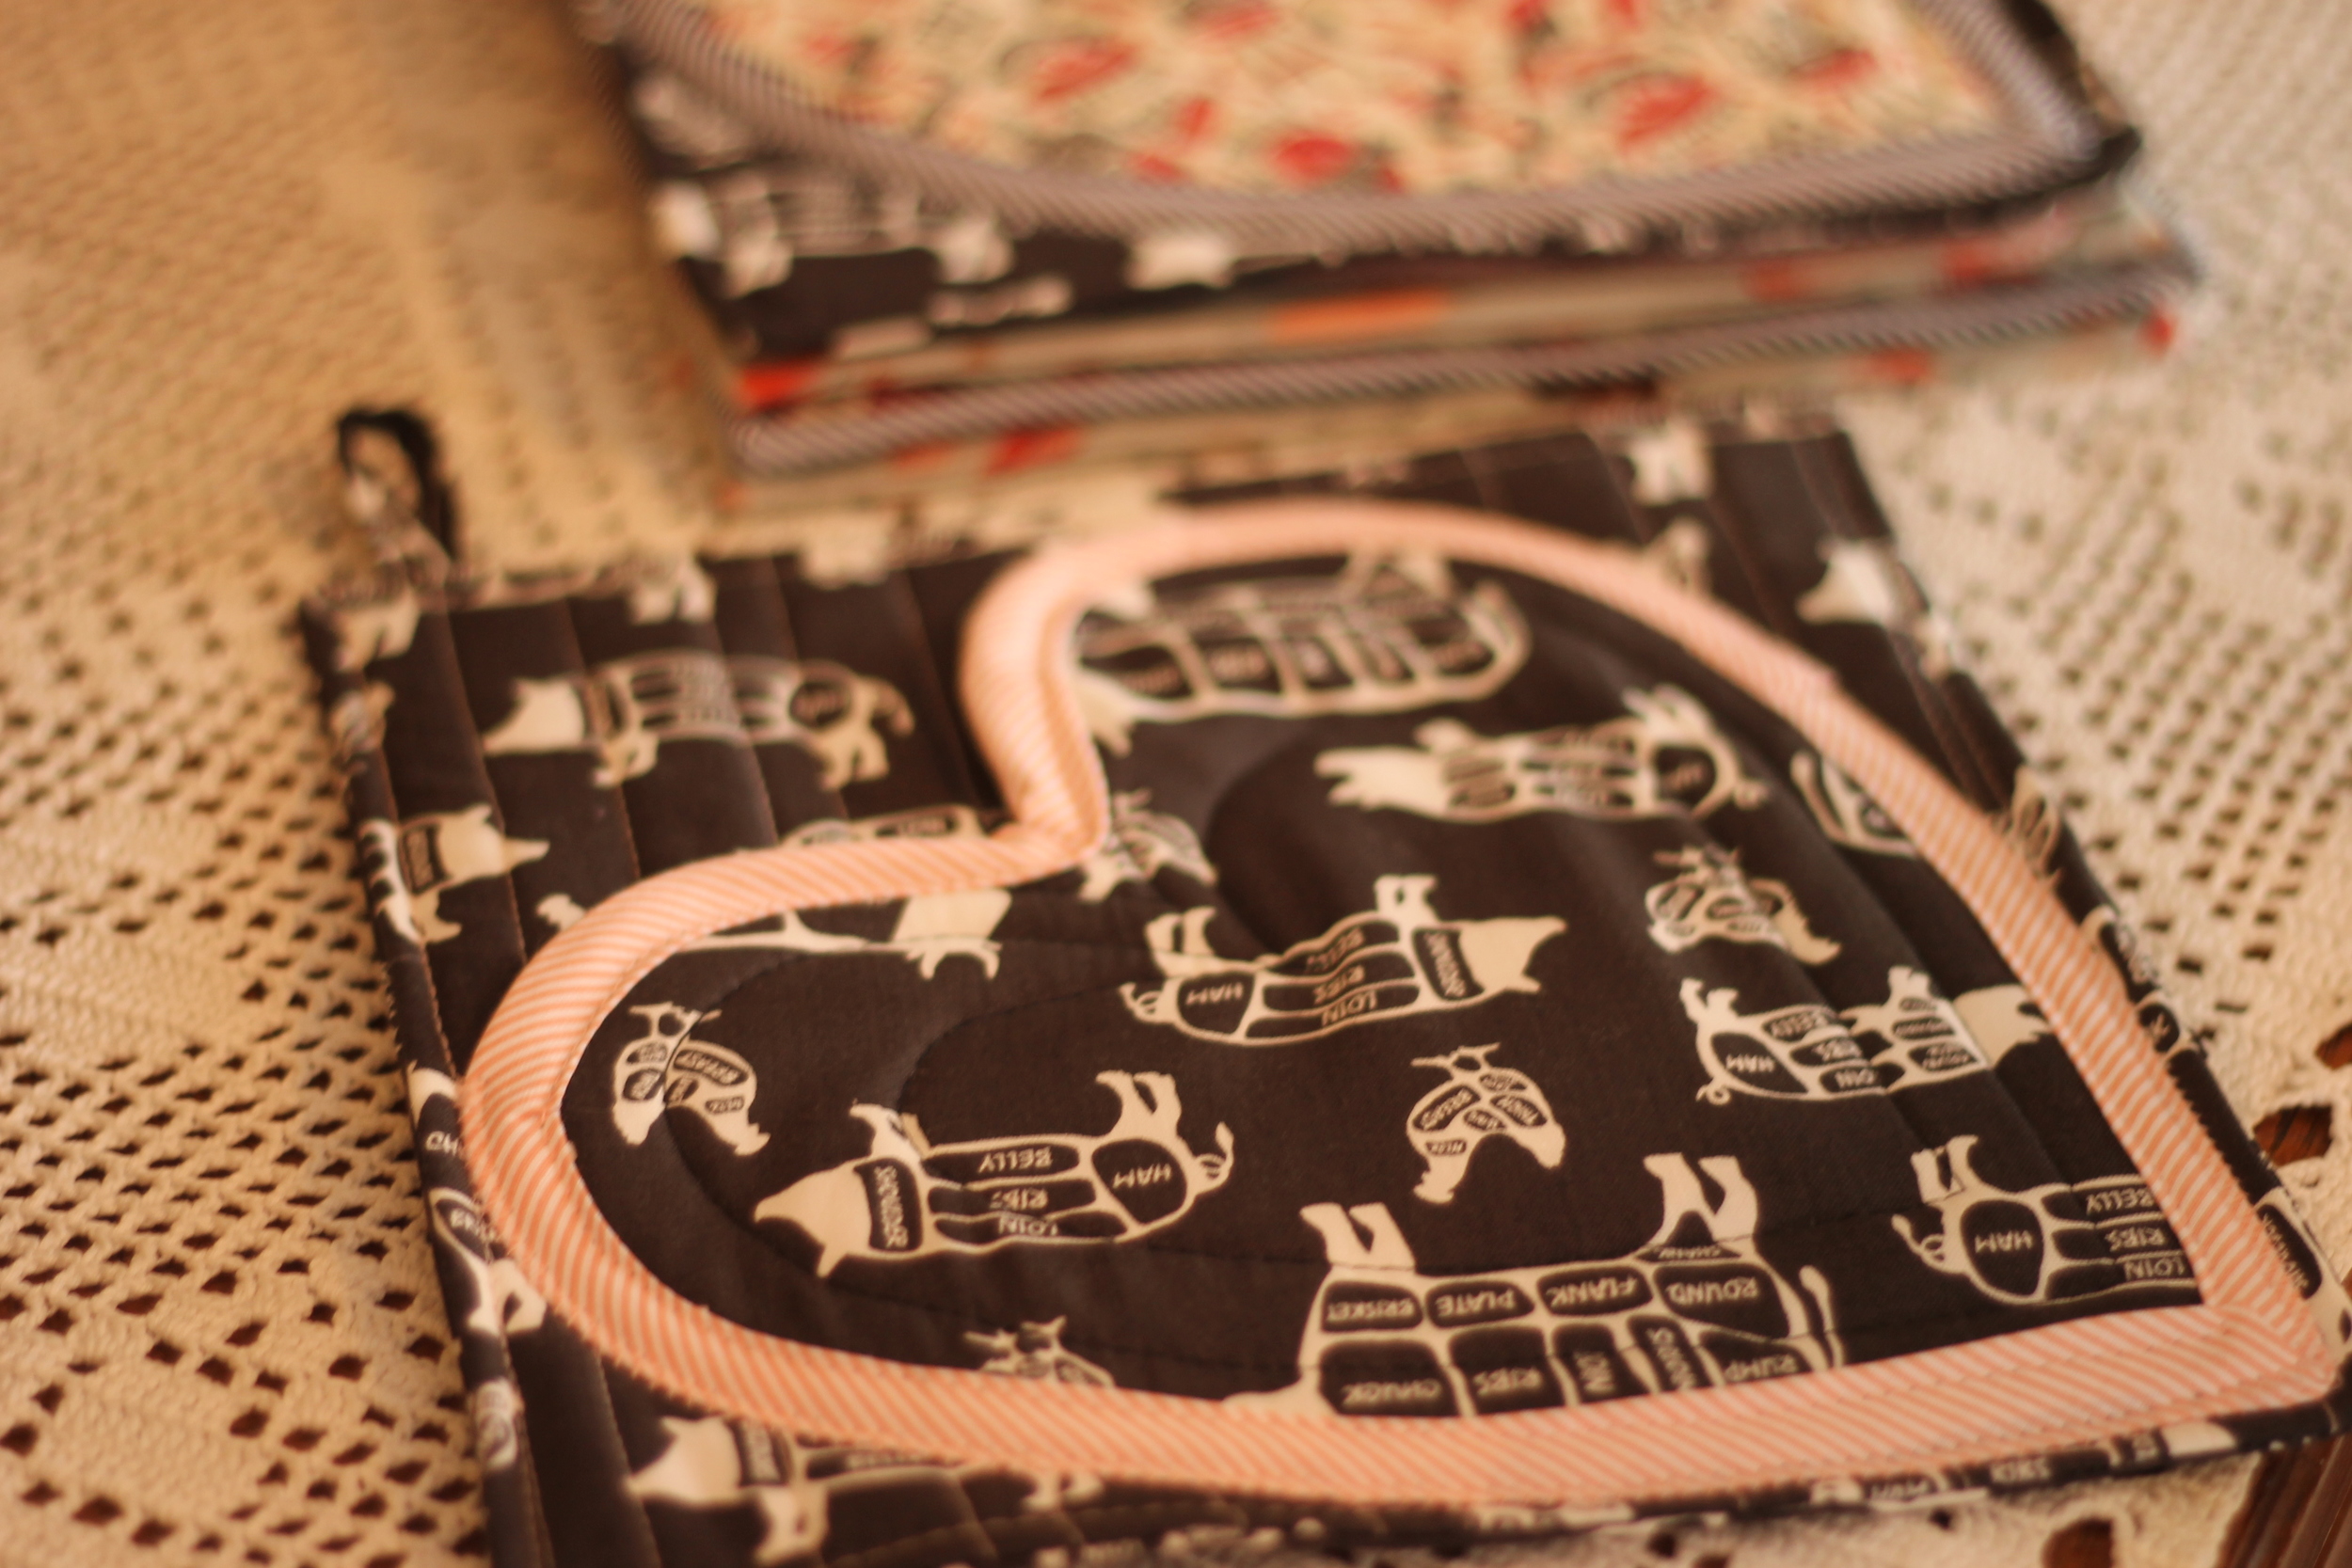
- Add lace trim and other embellishments as desired. In this sample, lace trim was placed along the edges of the striped print.
- With right sides facing, place quilted top on to backing. Pin in place. Stitch all the way around, being careful to not catch your end ruffles in your side seams. Leave a 6" opening on one side for turning.
- Turn runner right side out through opening. Steam press edges and top stitch all the way around runner.


Thanks Dear Stella for providing the fabrics for this project.

 Making gifts for others is one of my favorite things about sewing (one of the reasons I wrote an